Swap the background
Keep the person, change the place. The subject from your first image gets moved into the scene from your second, with the edge work, spill light and contact shadows handled automatically — the parts that used to take a pen tool and twenty minutes of patience.
- Clean cut-out around hair, glasses and fine edges
- Subject relit to match the new environment
- Contact shadow so they sit in the scene, not on it
- Any background: a stock photo, a location shot, or a plain colour
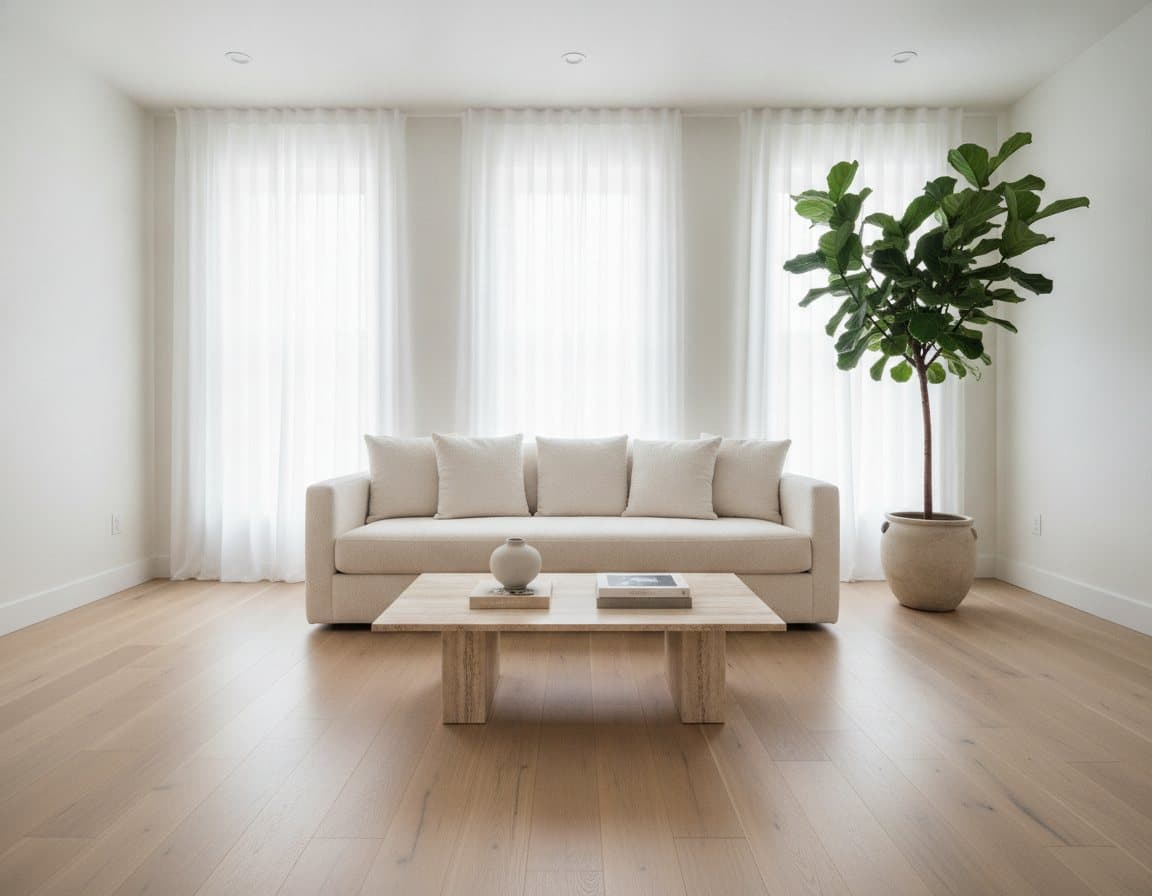
Nobody should need a masking tutorial to make one photo out of two
The old way was an hour of pen tool, feathering and shadow painting. This is the same job, described in a sentence.
- 01
Drop in your images
Two to four files, JPG, PNG or WebP, up to 12 MB each. The first one you add sets the lighting and camera angle for the result, so lead with the shot you like most.
- 02
Say what you want
One sentence in plain English — who goes where, which light wins, what must not change. Or skip the typing and pick a preset that already contains the right instruction.
- 03
Download the result
About ten seconds later you get a single image at full resolution. Not quite there? Tweak the sentence and run it again — the second attempt is usually the one.
About swap the background
Specific to this tool, answered plainly.
Set your merge up, then pick a plan
Upload and arrange your images on the home page without an account. When you're happy with the setup, choose an annual plan or a one-off credit pack and the merge runs straight away.