How to Put 2 Photos Side by Side for Before-and-After
A before-and-after only convinces people if the two halves are comparable. How to put 2 photos side by side so the change is the only thing that differs — framing, light, crop and labels included.
Putting two pictures in one frame is easy. Making them comparable is the part people skip, and it is the reason most before-and-afters quietly fail to convince anyone.
This guide is about that second part. If you only need the mechanics — which app, which buttons, on which device — how to put two images side by side covers five methods for iPhone, Android, Mac, Windows and the browser. Come back here for the bit that decides whether anyone believes the result.
Why most before-and-afters don't land
A comparison makes a promise: the only thing that changed is the thing I am showing you. Break that promise and a viewer feels it before they can explain it.
They feel it when the "after" was shot two steps closer. When the "before" was taken under a bare ceiling bulb and the "after" beside a window. When one half is cropped square and the other is not. None of that is necessarily dishonest — it is usually just two photos taken on different days without a comparison in mind — but the effect is the same: the viewer discounts the change.
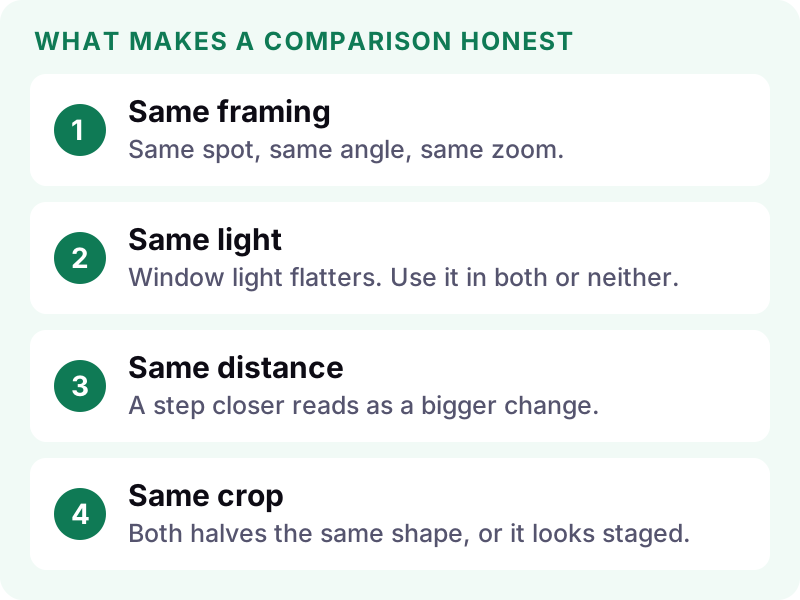
Same framing
Same spot, same angle, same zoom. For a room, mark where you stood. For a person, note the distance to the wall behind them. For a product, keep the camera on the same side.
Same light
Light does more flattering work than most changes you are trying to show. Window light on the "after" and a ceiling bulb on the "before" is a lighting comparison wearing a costume. Shoot both at the same time of day if you can.
Same distance
A step closer reads as a bigger change, and readers have seen enough fitness posts to be suspicious of it. Keep your feet where they were.
Same crop
Both halves should be the same shape. Two different aspect ratios in one frame look staged even when nothing is wrong.
How to put 2 photos side by side so they read as a pair
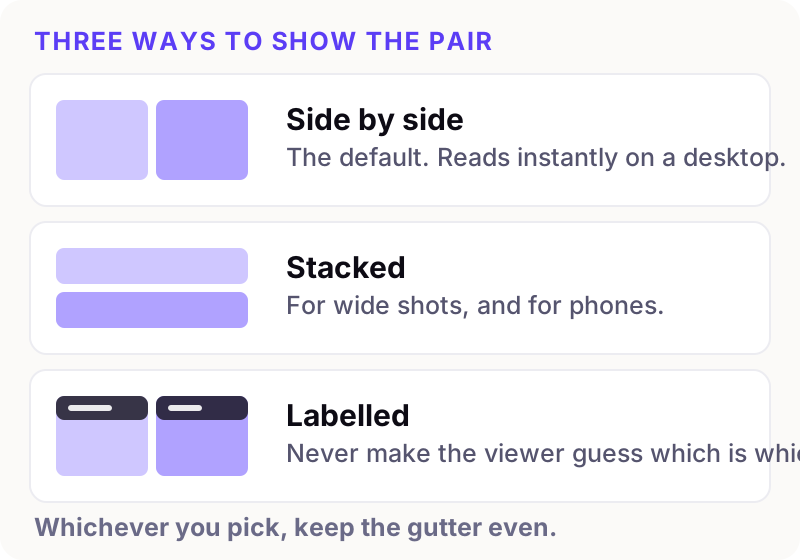
Side by side is the default for a reason: the eye compares horizontally without effort. It is also the worst choice for anything read mostly on a phone, where each half ends up about 170 pixels wide.
Stacked is the underrated one. For wide shots, or any audience that is mostly mobile, stacking keeps both images full width and legible.
Labelled is not a third option so much as a requirement. Never make a viewer work out which one is the "before". Western readers assume left-to-right and top-to-bottom, so putting the after on the left actively confuses people. Label it anyway.
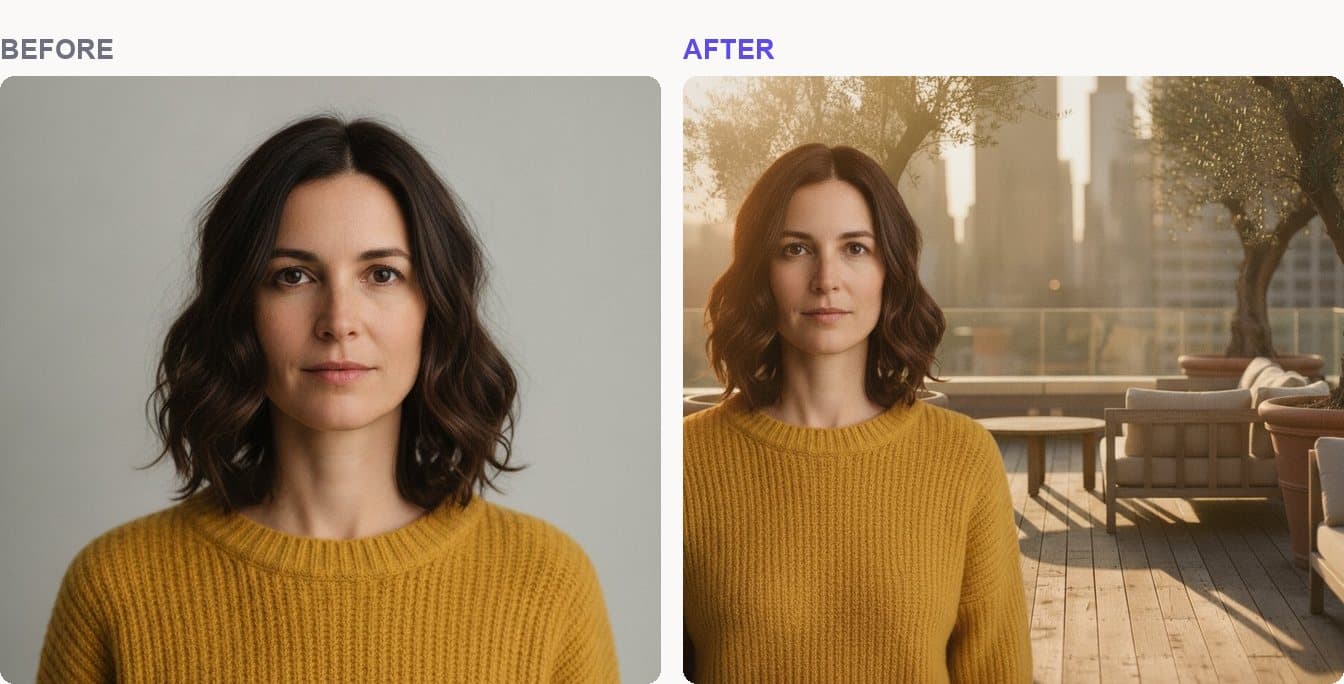
Here is a pair put together properly — matched height, even gutter, no border, and a label on each half:
The details that separate deliberate from rushed
Keep the gutter even. An uneven gap is the first thing people notice and the last thing they can name. If there is a gap between the images, use the same gap around the outside — or no outer gap at all. Do not mix.
Match the heights exactly. Four pixels of difference reads as a mistake rather than a choice.
Skip the drop shadow and the thin grey border. Two clean photos on a plain background look current and survive platform recompression better.
Export sensibly. PNG if either image contains text, JPEG at quality 85 or higher if not. A screenshot re-saved as a low-quality JPEG is where crisp text goes to die.
Put it on the right canvas. 1:1 for most social feeds, 4:5 if you want maximum height on a phone, 16:9 for a slide. Decide before you export, not after.
When a side-by-side is the wrong answer
Sometimes two photos next to each other is not what the moment needs.
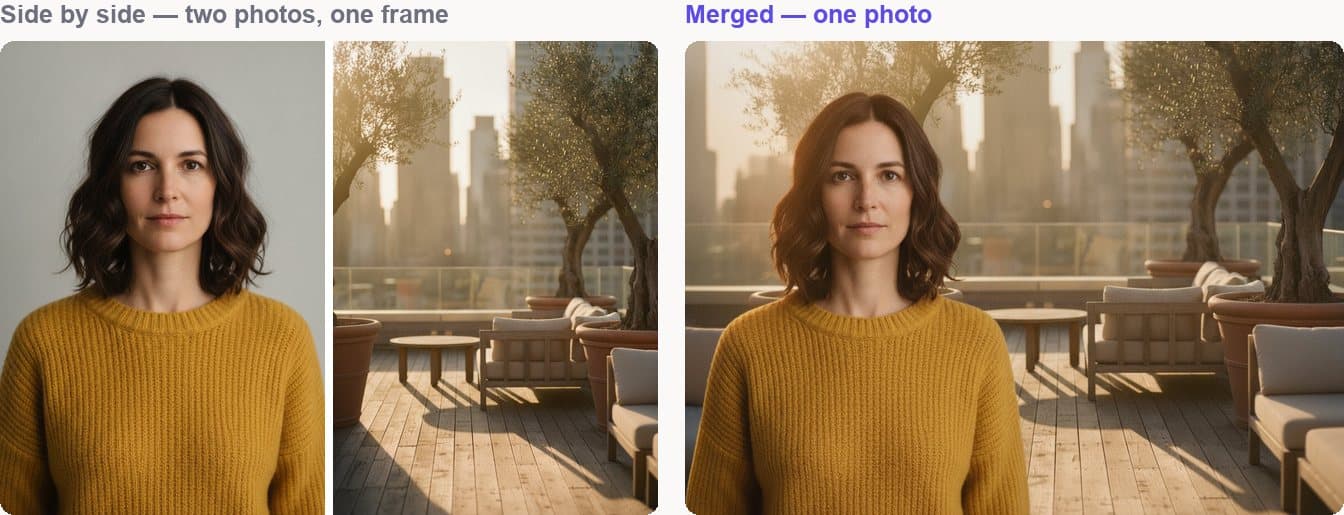
A side-by-side says compare these two things. That is right for a renovation, a restoration, a product in two colourways, a result you want scrutinised.
It is wrong when the two pictures are meant to be one moment. Two people photographed separately and placed next to each other still reads as two photographs of two people — the frame edge between them says so. If you want them to look like they were together, the images have to become one, which is a different tool entirely: an AI photo combiner rather than a layout.
Three cases worth setting up properly
Renovations and interiors. Photograph the empty room from a marked spot before anything moves, at the same time of day you plan to shoot the finished version. This is the case where matching framing pays off most, because the room itself is the subject.
Products in two variants. Two photos side by side is the clearest way to show a colourway, a size or a material. Shoot both on the same surface under the same light, and keep the product the same distance from the lens. If the second variant does not exist yet as a physical sample, a composite is the honest alternative — product photos that look shot, not pasted covers doing that without it showing.
Photo restoration. A damaged print next to its repaired version is one of the few comparisons where the two halves genuinely cannot match on light and framing, because the original is what it is. Scan at the highest resolution you can, crop both to the same shape, and let the condition of the print be the only difference.
In all three, the effort is in the capture, not the layout. You can browse the full set of tools if the comparison you need involves generating the second image rather than shooting it.
A quick checklist
Before you post it:
- Same framing, light, distance and crop in both halves.
- Before on the left, or on top.
- Both halves labelled.
- Gutter even on every side.
- Heights identical to the pixel.
- Exported at the shape of the place it is going.
Six things, under a minute, and the difference between a comparison people believe and one they scroll past.
In short
How you put 2 photos side by side matters far less than whether the two photos deserve to be next to each other. Match the conditions first, then pick a layout that suits the screen it will be read on, label both halves, and keep the spacing honest.
And if what you actually wanted was for the two pictures to become one photograph, no layout will get you there — see how to AI combine two images, or open the Image Combiner and try it.